Build and Kill Zombies Supports — Wooden Spike, Flamethrower & Slots
Every documented Build and Kill Zombies support — Wooden Spike (1 in 3, $10), Flamethrower (1 in 9, $10,000), Tubex — with placement, support slots and the Skills that add them.
Supports are the defensive half of every Build and Kill Zombies build: contact damage, area damage and utility pieces mounted onto the car, rolled from their own SUPPORTS machine. This Build and Kill Zombies supports page documents every support confirmed on camera, how placement works, and the skill-tree slots that decide how many you can mount.
Every Documented Support
| Support | Odds | Value | Evidence |
|---|---|---|---|
| Wooden Spike | 1 in 3 | $10 | Pickup popup read on camera |
| Flamethrower | 1 in 9 | $10,000 | Pickup popup read on camera |
| Tubex | (to be verified) | (to be verified) | Seen mounted in world; odds not shown |
The spread tells the early-game story by itself: Wooden Spike at 1 in 3 is nearly free and solves the first-wave problem for pocket change, while Flamethrower at 1 in 9 with a $10,000 value tag is the high-value pull every save grinds toward. The gap between them — and everything else on the ladder — is "(to be verified)" until a pickup popup or INDEX read confirms it.
What Supports Do
Two confirmed behavior types, mounted differently:
- Contact damage (Wooden Spike) — sits on the car's front face and damages zombies on impact. The cheap answer to the first clusters; it pays for itself the first wave it survives.
- Area damage (Flamethrower) — high-value damage over an area, rewarding placement where the horde actually concentrates. Its $10,000 value makes it one of the most valuable observed pickups in the game.
How to Get Supports
Supports come from three confirmed sources:
- The SUPPORTS roll station — a separate machine from CAR PARTS, with its own counter ("In 20 Rolls" style) and Locked markers; use the SELECT CATEGORY picker to target supports specifically.
- Codes — PAINTEVERYWHERE grants a Crossbow and a Mounted Gun (single-tracker source, marked for verification on the codes page); more support-bearing codes land with updates.
- Skill slots first — supports are worth nothing without a slot to mount them (below).
Support Slots: The Real Limiter
How many supports you can mount is governed by the skill tree. Confirmed nodes:
| Skill | Effect | Cost |
|---|---|---|
| More Support I | 2 total support slots | 300 |
| More Support II | Extra support slot | 3,700 (3.70K) |
The practical sequencing: one support slot comes effectively free with your first build, More Support I (300) is cheap enough to take early, and More Support II (3,700) is only worth it once you actually own two supports worth mounting — capacity with nothing to fill it is wasted cash. The full tree with the Luck chain is on the skills guide.
Supports FAQ
What is the best support in Build and Kill Zombies?
On documented numbers, the Flamethrower — 1 in 9 odds and a $10,000 value make it the strongest confirmed pickup of any kind. Early on, the Wooden Spike is the best support you can actually get: 1 in 3 odds and it solves the first-wave problem immediately.
How many supports can I mount?
Starts at one, expandable through the skill tree — More Support I (300) takes it to two, More Support II (3,700) adds another. Both were read from the SKILLS menu on footage.
Where do I mount supports?
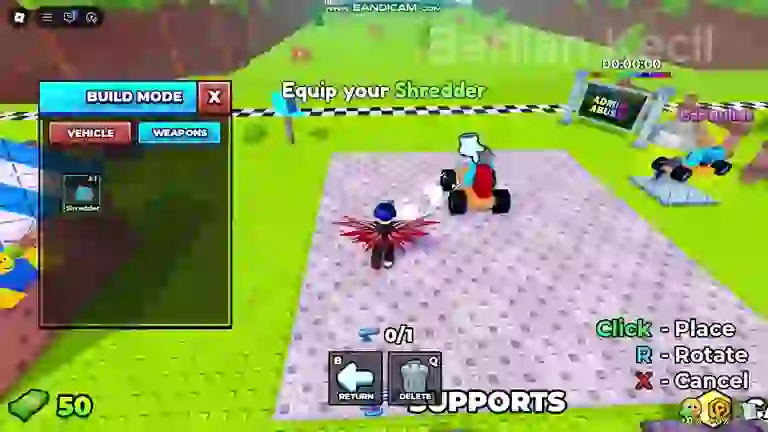
In Build Mode's SUPPORTS tab — placement keys are E (place), R (rotate), X (cancel). Contact pieces go on the front face where they hit zombies; area pieces go where the horde concentrates (see how to play for the full Build Mode tour).
Why did my supports disappear?
Supports belong to the vehicle they are mounted on — rebuilding or switching to a blueprint changes what is mounted. The SAVES menu stores builds so you can reload a setup instead of re-rolling it.
More parts: builds & parts hub, engines ladder, weapons, blueprints and the money guide.
All builds
Related pages